Modes and sectors
Everhex 0.5.23 · Updated 13 November 2026
Everhex has four ways to play: Classic, Siege, Hive and the Rift. Classic, Siege and Hive are played on sectors, which set how hard the enemies are and how much a run pays.
Classic
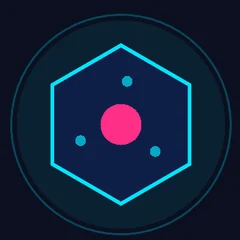
The original game. Enemies walk in from the edge of the arena toward the tower, and the tower must survive.
- A wave has 5 + 3 × the wave number enemies. Wave 10 has 35.
- Enemy health grows ×1.25 a wave and enemy damage ×1.15 a wave. The first six waves are a little softer to help a new tower get going.
- A kill pays 1 + the wave number in cash, times the enemy type's payout, times your cash bonuses, × 0.8.
- New enemy types join over the first waves: Fast from wave 3, Tank 5, Weaver 8, Shielder 12, Splitter 16, Mender 22.
- Affixes appear on top: Armored from wave 10, Swift 14, Volatile 20, Regen 26, Warded 32. From wave 40 an enemy can carry two.
- From wave 18, any enemy has a 10% chance to arrive as an elite: ×2.4 health, ×3 cash, and a gold ring.
- Waves arrive in formations from wave 6 onward: Breach, Pincer, Spiral, Encircle and Column.
Bosses
- Every 10th wave is a boss wave. The bosses come in a fixed order: Juggernaut, Phantom, Splitter, Bulwark, then round again.
- A boss has 30× normal health and 4× damage, and the wave around it has 45% of the usual crowd.
- Killing a boss gives a bonus perk draft (within the run's draft limit) and +50% Overcharge, and the first time you beat a boss that deep on that sector it drops gem shards.
Perk drafts
- Every second wave you choose one of three perk cards. Perks last for the run.
- A run has at most 12 drafts, 13 with the Extra Perk Draft gem upgrade.
- Weapon perks are only offered for weapons you have mounted, and a perk that would do nothing for your tower is not dealt.
- You can redraw the three cards for 15 gems. It takes two taps: the first arms the button, the second pays.
- A draft can open under a finger that is still tapping upgrades, so a gem or ad button on it ignores a tap that comes within 0.35 seconds of the tap before it anywhere on the screen, and a second tap that comes within 0.4 seconds of the first. An ignored tap spends nothing.
Stalemates
If a wave goes 45 seconds with no kill and without the enemies' total health falling by at least 2%, the game breaks the stalemate: wards drop, regeneration stops, armour is halved and the Gravity Well lets go. A second stalemate in the same wave ends it, and the enemies still on the field leave without paying.
Siege
Siege and Hive open together with the Deep Field, once you own 453 Constellation nodes.
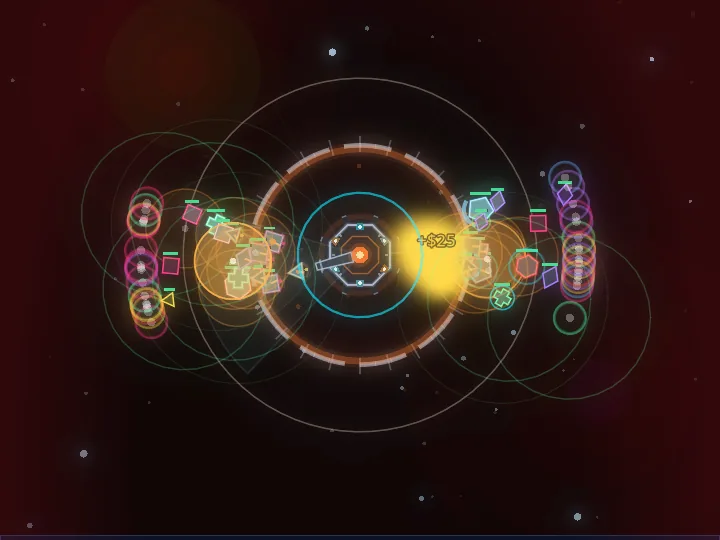
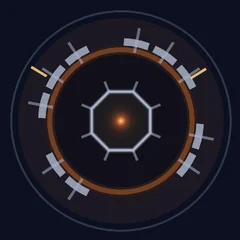
Enemies stop short of the tower and shell it from range. The fight is about holding a wall.
- Besiegers halt between 48% and 76% of the arena radius from the tower (62% on average) and fire a shell every 1.6 seconds for 22% of the damage they would do on reaching you. They keep creeping forward slowly.
- A besieger that has dug in takes 45% less damage. Knocking it back exposes it until it settles again.
- The bulwark, a wall worth 160% of your max health, takes the shells first. While it stands the tower takes nothing. It starts each run full and rebuilds 35% between waves.
- Armour reduces shells; Thorns cannot reach besiegers.
- A wave has four times as many enemies, and each kill pays 35% of the usual cash.
- A full Overcharge gauge becomes Vent: every enemy within your widest reach is knocked back and hit for 2.2× the tower's damage. Overcharge surplus does not apply in Siege.
Hive
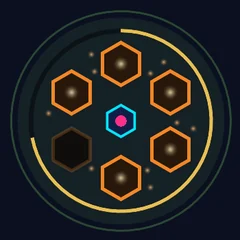
No marching waves. Nests sit on the field and breed enemies, and a wave ends only when every nest is destroyed.
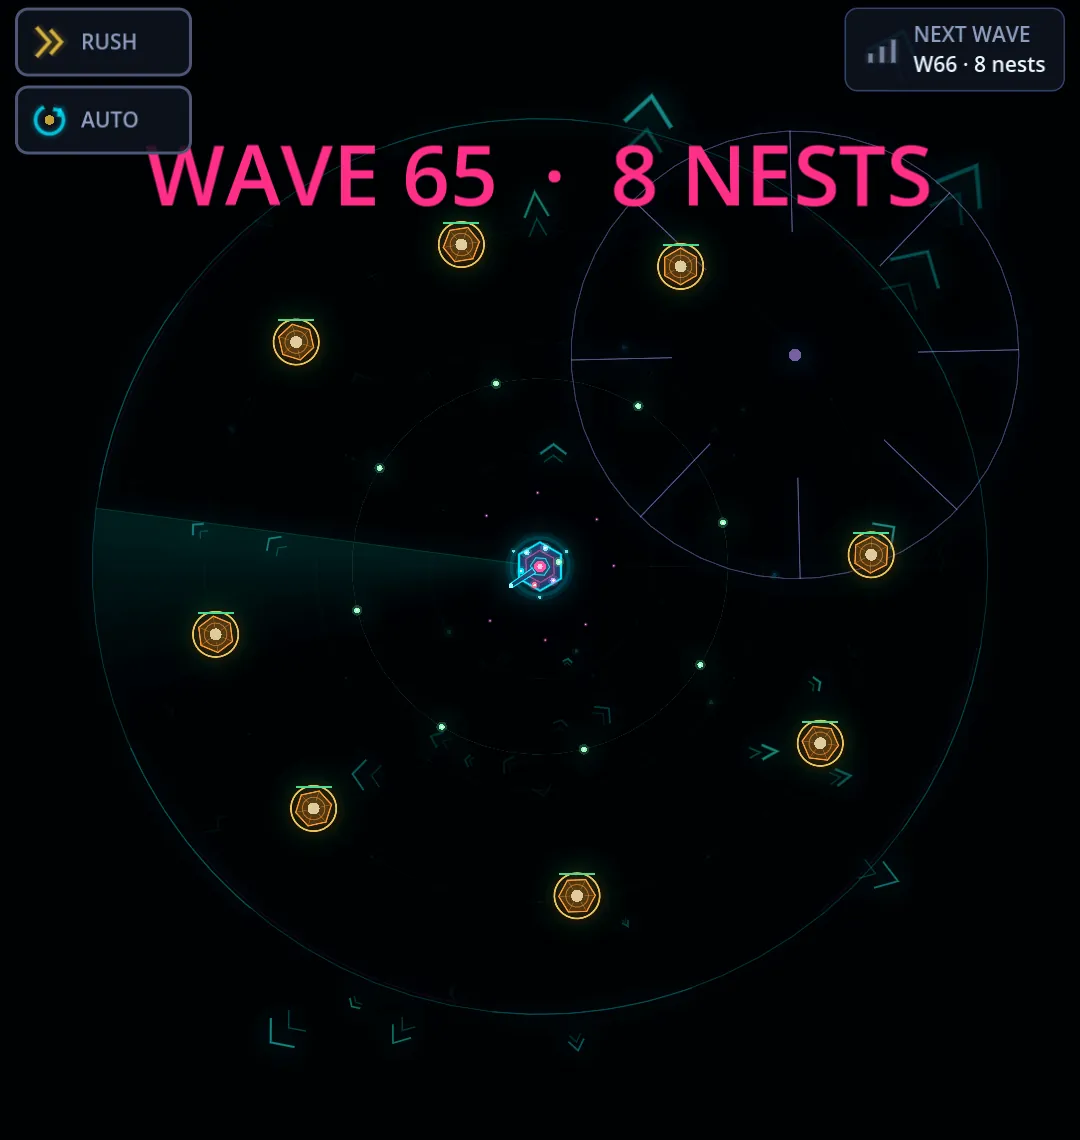
- A wave has 3 nests, plus 1 for every 5 waves, up to 8, placed at 74% of the arena radius.
- A nest has 200 times the health of a normal enemy at that wave and never moves.
- Each nest sends out an enemy every 3.4 seconds, 0.06 seconds faster each wave, down to every 1.1 seconds.
- A nest pays 14 times a normal enemy's base cash; the walkers pay 55%.
- Your weapons shoot walkers that are close to the tower first (inside 34% of the arena radius), then nests, then everything else.
The Rift
The Rift is the season challenge (Season 2). You forge a key, open a Rift and climb the season's ladder. The ladder resets each season; badges and cosmetics stay.
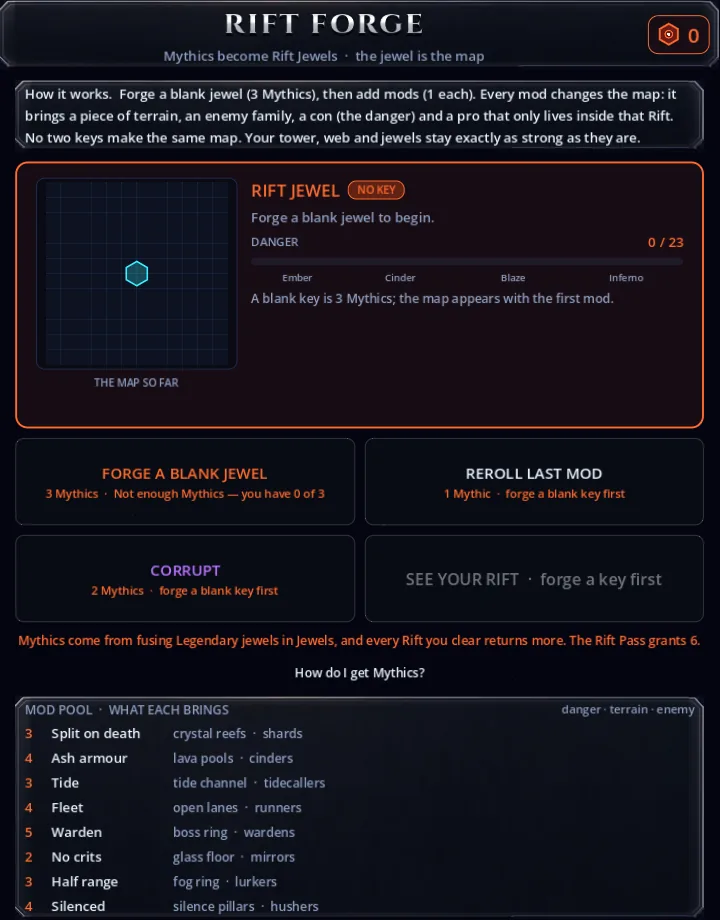
- Keys are forged at the Rift Forge from Mythic jewels: 3 Mythics for a blank key and 1 more for each mod, up to 6 mods.
- The key is the map: the same key always makes the same Rift, and it has a code (RIFT·XXXX) another player can use to race the same one.
- The first time you clear wave 20 outside a Rift, you are given a free trial key.
- A Rift is 50 waves.
- Danger is the sum of the key's mods, at most 24. Its tier: Ember 1 to 5, Cinder 6 to 11, Blaze 12 to 17, Inferno 18 to 24.
- Ladder points = danger × waves cleared.
- Riftlight = 50 × danger on a full clear, in proportion to the waves cleared if you fall earlier.
- A full clear can also return 0 to 2 Mythics. On average that is always less than the key cost.
- Keys with Ash armour or Warden are fought on the Crown of Ash; every other key on the Void Tide.
- Your Rift warns you if your tower level is below what usually clears that tier (100 for Ember, 180 for Cinder, 200 for Blaze and Inferno). It is only a warning; you can always open the key.
Each mod is a rule the Rift runs under, its danger, and a bonus that applies only inside that Rift:
- Split on death (danger 4): every kill leaves two half-health shards. Bonus: shards drop double Riftlight.
- Ash armour (4): only super crits deal bonus damage. Bonus: super crits deal +50%.
- Tide (3): three waves arrive at once, then a 4-second lull. Bonus: coins ×1.5 during a tide.
- Fleet (4): enemies move at double speed. Bonus: enemy health −20%.
- Warden (5): a boss every 10 waves. Bonus: each warden drops 3× Riftlight and has a 25% chance to drop a Mythic.
- No crits (2): crit chance counts as 0. Bonus: base damage +25%.
- Half range (3): every weapon's reach is halved. Bonus: tower health ×2.
- Silenced (4): no perk drafts during the run. Its listed bonus belongs to a feature that is not in the game yet, so it currently gives nothing.
A Rift has no boss waves unless its key carries Warden. Wardens give no bonus draft and no Overcharge, and End Run At does not apply inside a Rift.
Sectors
Classic, Siege and Hive are played on one of 10 sectors (the game also calls them tiers). A sector is the same field, harder, and it pays more.
- Each step up multiplies enemy health by ×3, enemy damage by ×2.4 and coins by ×4.
- The health and damage increase ramps in over the first 12 waves of a run, so a new sector does not hit hardest when your tower is weakest.
- Sector 2 opens when you clear wave 25 on sector 1. Each sector after asks 2 more waves, up to wave 41 on sector 9 to open sector 10.
- Each sector also leans toward a particular threat, shown on its card. For example, sector 4 brings many Warded enemies, where slows and poison are useless.
- The number of enemies and their speed are the same on every sector.